This is a small guide on how to host your website or blog, created with jekyll static site generator, for free with github. If you don’t know what jekyll is you can read about it here.
Prerequisites
Installation and requirements
Jekyll is written i Ruby and is a Ruby Gem which can be installed on most systems.
- Ruby version 2.5.0 or above, including all development headers (ruby version can be checked by running
ruby -v) - RubyGems (which you can check by running
gem -v) - GCC and Make (in case your system doesn’t have them installed, which you can check by running
gcc -v,g++ -vandmake -vin your system’s command line interface)
If you need a guide for the different operating systems, have a look here.
Instructions
Open the terminal.
1. Install Jekyll and bundler gems.
~ ❯ gem install jekyll bundler
2. Create a new Jekyll site at ./myblog.
~ ❯ jekyll new website
3. Change into your new directory.
~ ❯ cd website
4. Build the site and make it available on a local server.
~/website ❯ bundle exec jekyll serve
5. Browse to http://localhost:4000
If you would like to run on a different port just add the port flag to the command line commands
~/website ❯ bundle exec jekyll serve --port 4001
Now browse to http://localhost:4001
Initialize a git repo
Now we have to initialize a git repo to be able to push it to github later.
Open the terminal and go to your project folder.
~ ❯ cd website
We initialize a git repo be writing git init
~/website ❯ git init
Deployment
If we are done modifying the project we add all changes, commit and push the code to your git repo that is prepared for github-pages. The git repo should be named like username.github.io
~/website ❯ git add -A
~/website ❯ git commit -m 'Initial commit'
~/website ❯ git push origin master
After some time, browse to username.github.io and you will see your website or blog.
Custom domain
It is possible to point your github page http://username.github.io to your custom domain, http://www.your-domain.com. You do that by going to the settings link in your github repo.

Go to the GitHub Pages section. There you will see Custom domain input field. Now add www.your-domain.com to the input field as seen in the picture below.
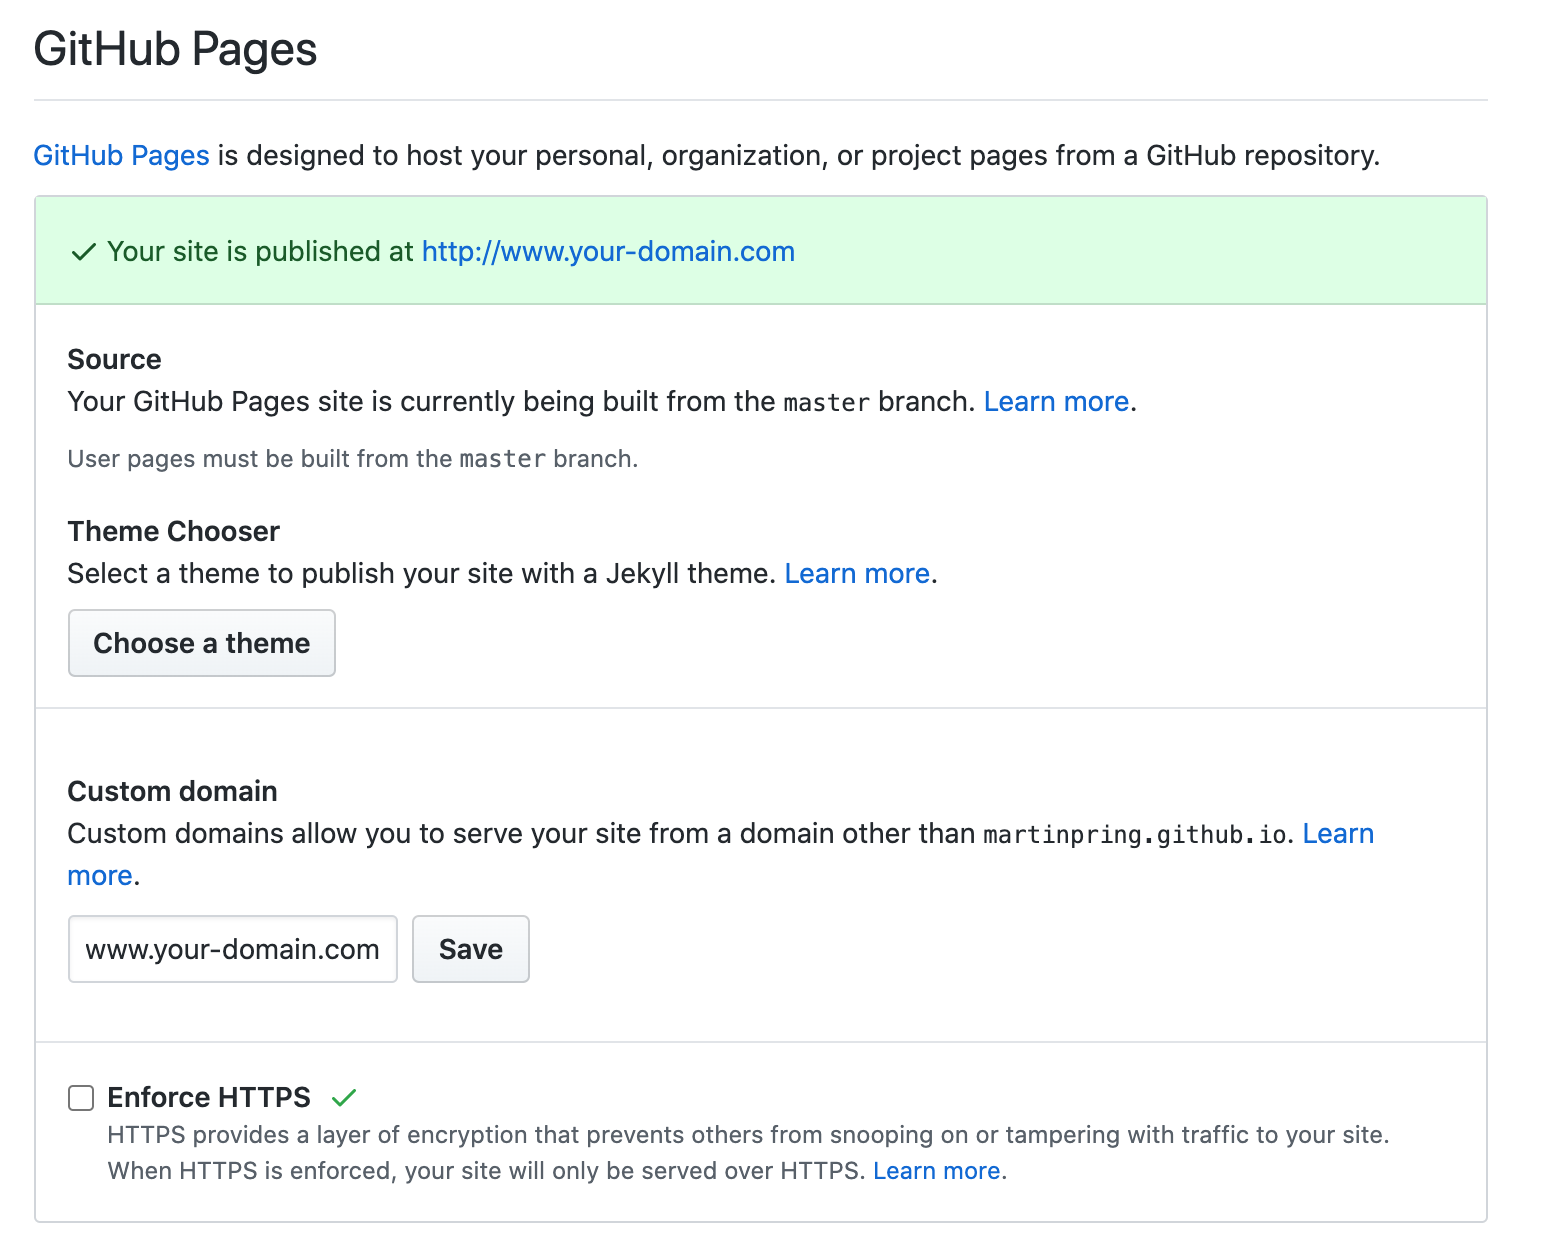
After a while you can access your website/blog via http://www.your-domain.com
HTTPS
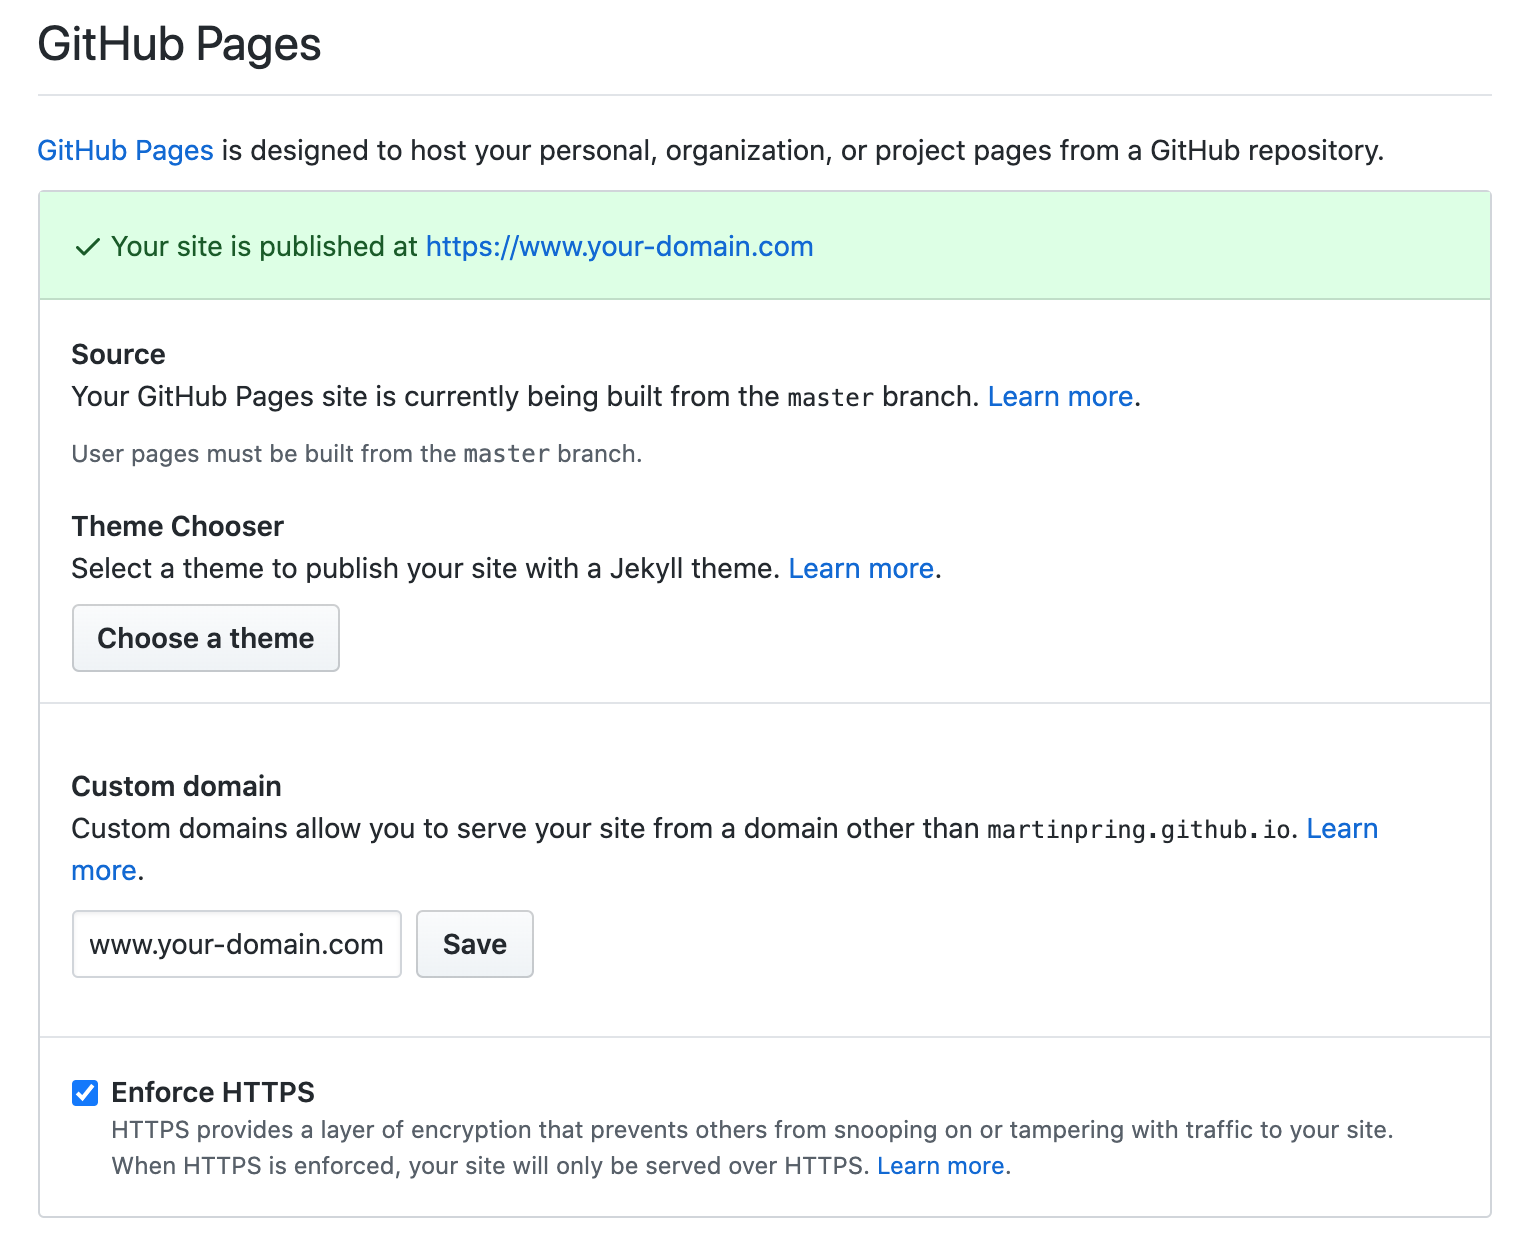
It’s a good idea to enable https to your site as well. It gives a more professional impression if you ask me. To enable https check the Enforce HTTPS filed seen in the picture below.
Trubleshooting
If you only add your-domain.com without subdomain www in the Custom domain field there may be problems accessing your website via https. To solve that you have to put subdomain www in the Custom domain field as well, as seen in the picture above.